KnownNetiOS

KnownNetiOS

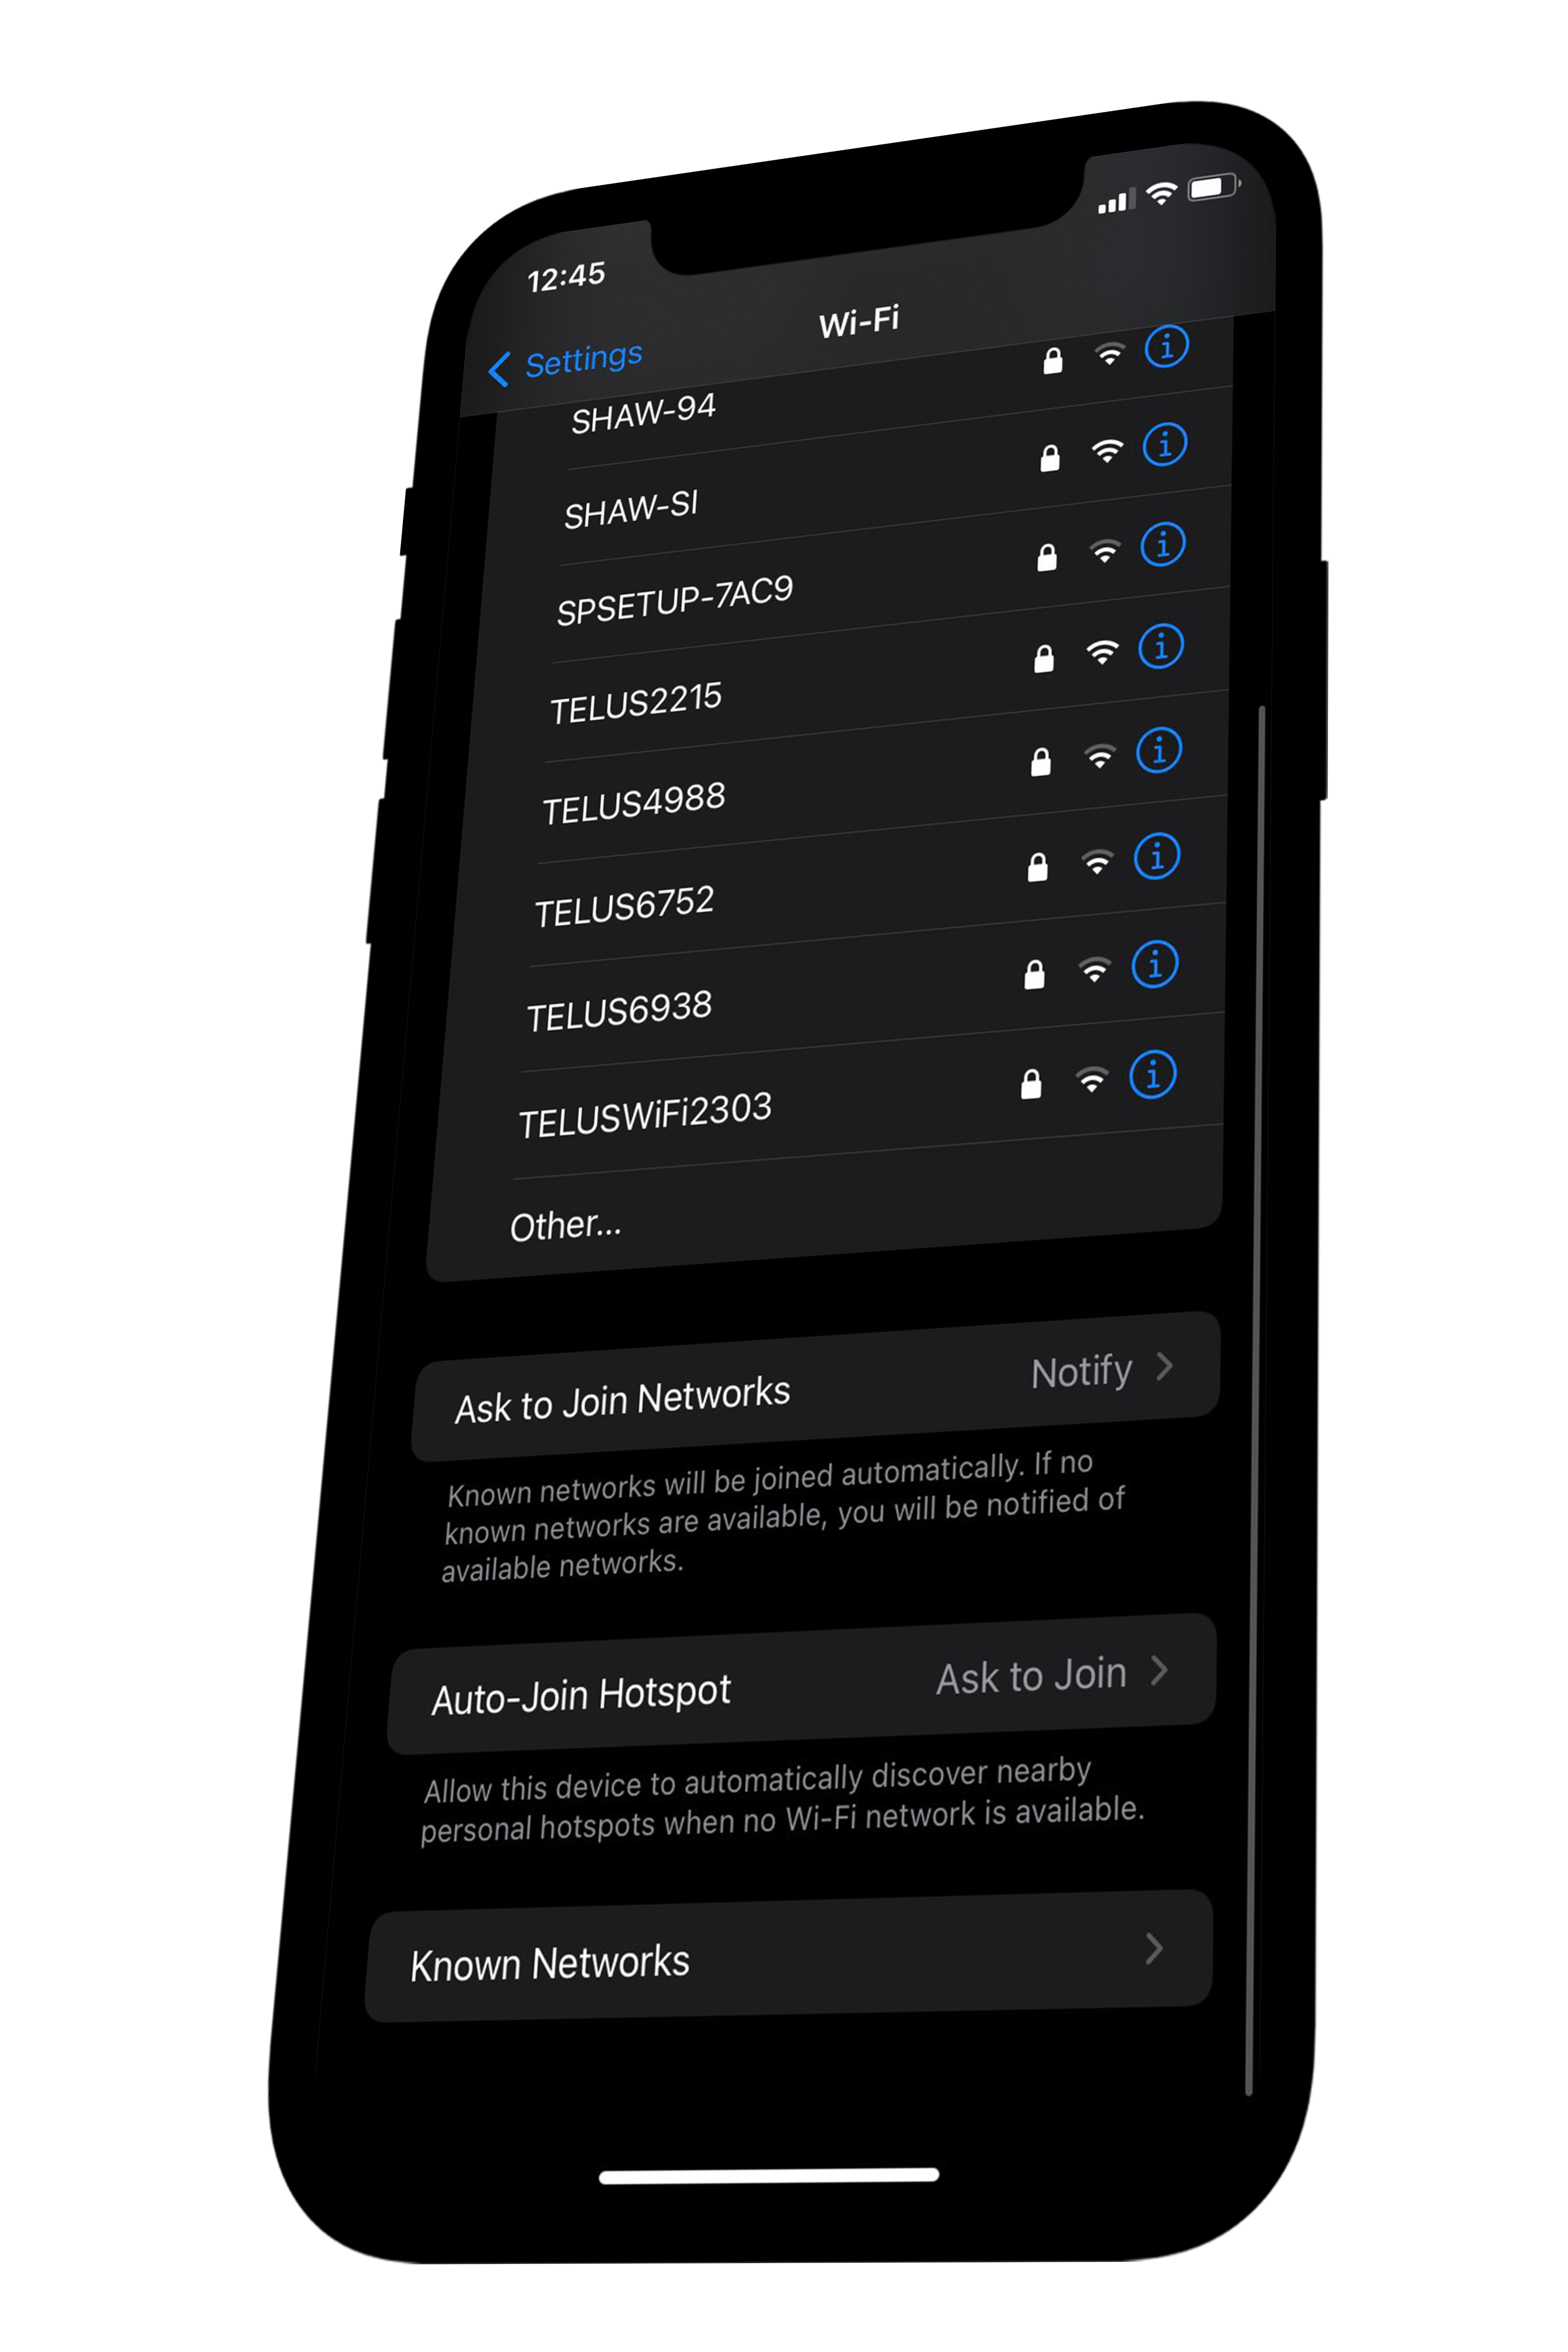
Want to manage and see your known WiFi networks on iOS 15 or lower? Well you've come to the right place. (On iOS 16 and higher, you are able to manage & view/copy your known networks.)

Need help following the written instructions? Watch the video tutorial -> CLICK ME, while doing the written instructions. To remove the known networks UI, instead of selecting the "KnownNetiOS INSTALL" folder, select the "KnownNetiOS REMOVE" folder. If you're prompted for a password when installing or removing the mod, type, *FollowiTechExpert21onTwitter* (w/o the asterix).

1

Setup

On your Windows PC, download & install iBackupBot "DOWNLOAD", & iTunes "DOWNLOAD" (if you don't have iTunes already) onto your computer.

iTunes can only be downloaded from Apple's website; if it is downloaded via the Microsoft Store, semi-restores will not work. Install iTunes again from Apple's website if it was originally installed from the Microsoft store.
2

Files Required

Download: DOWNLOAD

Download the KnownNetiOS backup from the link above, then go to your downloads folder and open the zip, afterwards you should see a folder “KnownNetiOS”, open it, then you should see 2 folders, one of the folders is “KnownNetiOS INSTALL”, the other is “KnownNetiOS REMOVE”, move the "KnownNetiOS INSTALL" folder to your desktop, keep the other folder in a safe place, just in case you want to remove the mod.
3

*Preparing your iPhone*

Before installing the mod, switch off iCloud Backup and Find My on your device. You can re-enable these settings after you apply the mod.
4

Applying the mod

Launch iBackupBot, click on the folder icon, and load the "KnownNetiOS INSTALL" backup. Double-click on the backup, then click System Files, then search for "com.apple.wifi" and restore the file to your device. (If prompted for a password, type: FollowiTechExpert21onTwitter)

On your device, it will display "Restore in Progress." After the device reboots, you'll encounter the setup screen. Simply setup your device, and when you reach the "Apps & Data" page with the "do not transfer data" option, select it and continue following the remaining steps.

Copyright © 2025 iConfig Hub. iConfig Hub is not affiliated with Apple Inc.