Lets Begin! (Windows)
Step 1:
Download and install CL, run the app, and connect your device. Disable Find My and iCloud Backup on your device. If you haven't already, read the important messages before applying tweaks. Additionally, make sure to back up your device before making any changes to ensure you have a backup in case anything goes wrong.
We're going to skip "Location Simulation" because, firstly, it didn't work for me on my iOS 15 device, so I can't provide assistance with it. Additionally, it doesn't work on iOS 17 devices either. Unfortunately, I no longer have any iOS 16 devices to try it out on iOS 16. So, rip.
Step 2 (Icon Theming):
Ready to add custom icons?
For a custom icon to be applied, an app must be on your device's Home Screen. While these custom icons lack notification badges, the process of adding them to your device has become more straightforward.
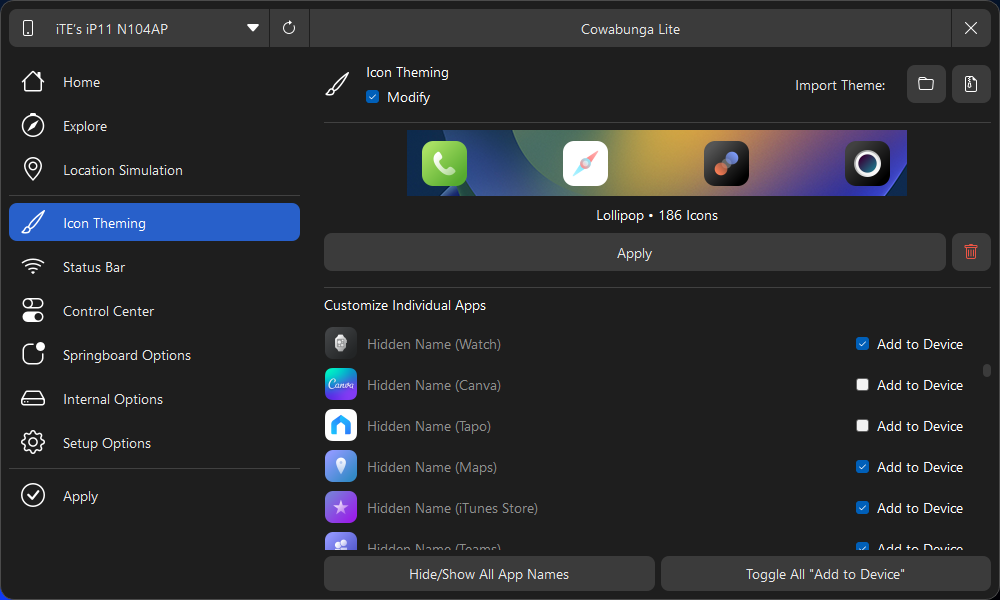
To acquire a theme, go to the "Explore" section, select the desired theme, and click "Download." Alternatively, you can add your custom theme by clicking the folder icon next to "Import Theme" in the icon theming section and importing the folder containing the icons. Zip files can also be used by clicking on the icon next to the folder icon.
After downloading or importing your preferred theme, go to the icon theming section. Click "Apply" under the chosen theme. If you want to change individual app icons, click on the icon you want to replace, then select your preferred replacement. Add all icons at once with the button ("Toggle All "Add to Device,") or choose specific icons you wanna add by clicking "Add to Device" for each icon. To hide icon names, click an app's name and delete it. To remove all names, click "Hide/Show All Apps Names."
Step 3 (Status Bar):
Time to change our carrier name in our status bar :)
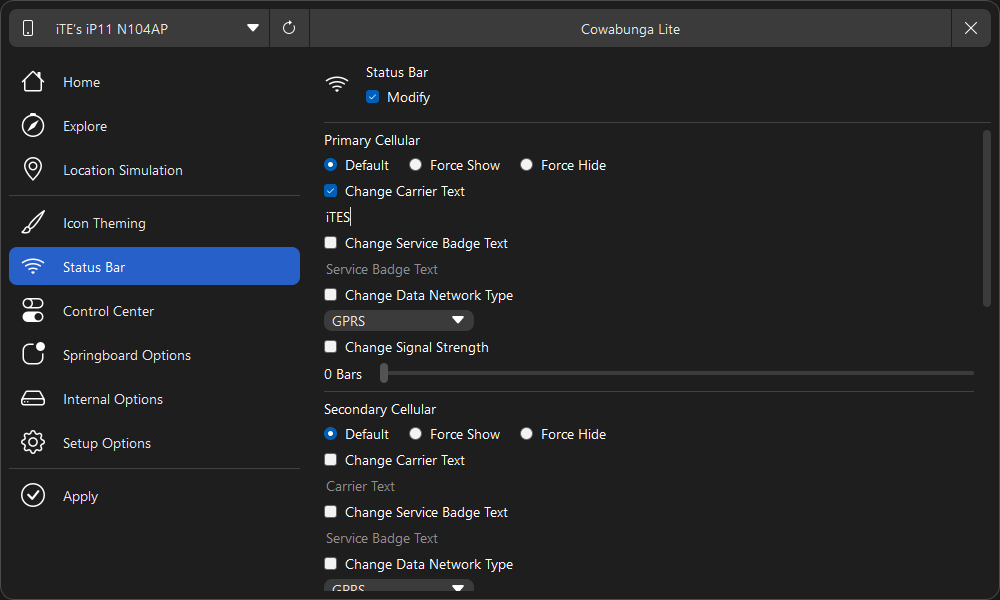
Go to the status bar section and enter your custom carrier name under "Change Carrier text." You can also customize the service badge text, turn on Wi-Fi RSSI in the status bar (note: RSSI is only shown in the control center), and explore more customization options.
Step 4 (Control Center):
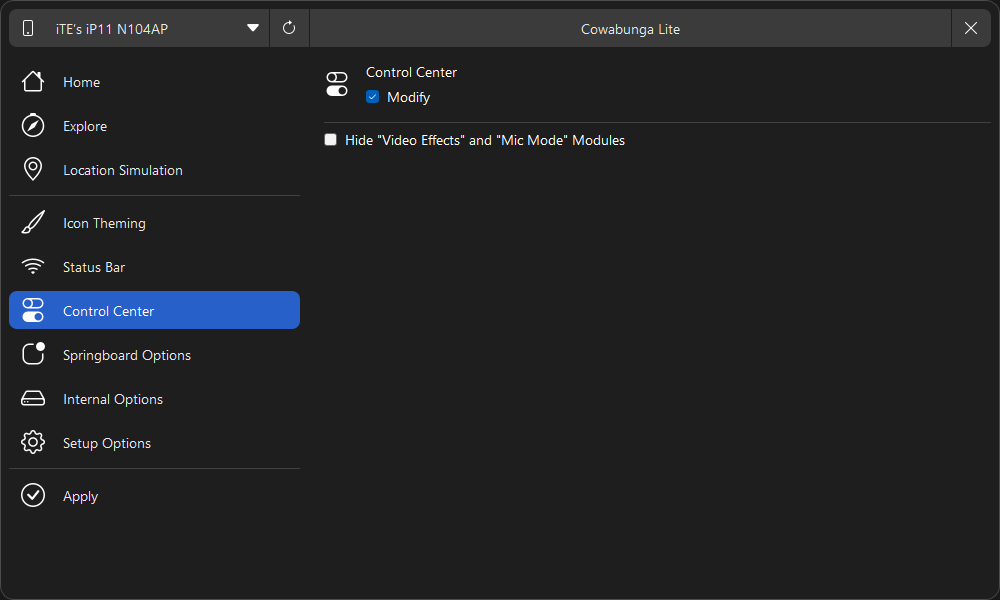
If you don't want to hide the video effects and mic modules, you can skip this step and move onto step 5 (Springboard Options). To hide these two modules, click "modify" and choose the option to hide both the video effects and mic modules.
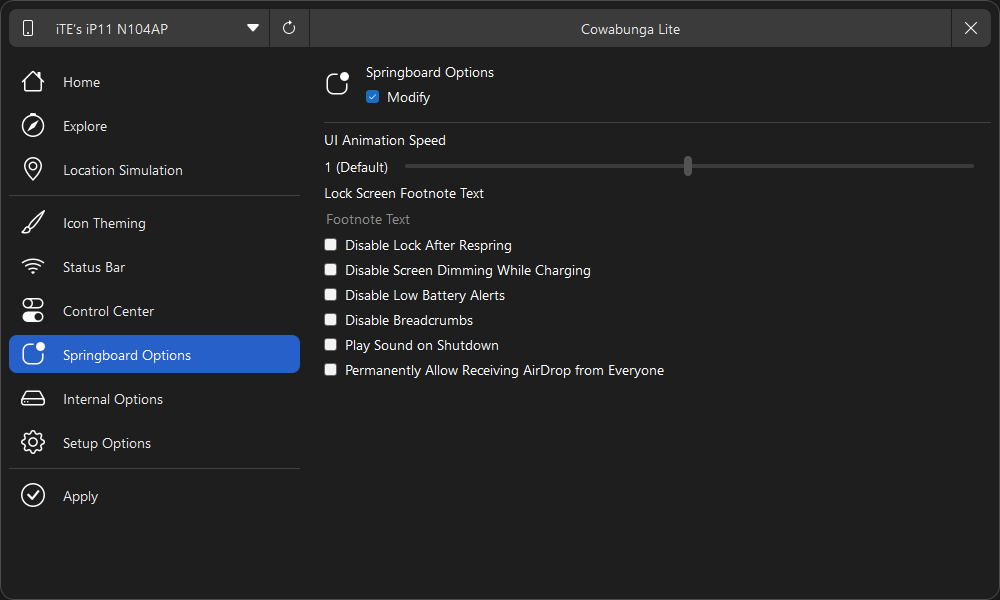
Step 5 (Springboard Options):
Anyone interested in quicker UI animations or getting rid of the bothersome battery alert?
In this section, you can speed up or slower device animations (far left for the fastest, far right for the slowest), turn off low battery alerts, remove the 10-minute time limit for AirDrop, and permanently set it to everyone, and some more options.
*For anyone who wants a LS footnote, you can use CL, but I advise against it due to the longer process of changing the footnote and the challenge of removing the added file from your device's filesystem (in my experience). Follow the instructions below for an easier method.*
1. Enable supervised mode on your device, which can be done in step 7 (Setup Options), if it's not already activated.
2. Get this shortcut called "Generate Lock Screen Footnote" by clicking here, then run the shortcut and create a config profile with your custom LS footnote, then install it.
3. That's it! If you want to update the footnote in the future, locate the profile and change the filetype from (.mobileconfig) to (.txt). Edit the LS text, save the file, switch the filetype back to (.mobileconfig), then all you got to do is just install the profile.

Step 6 (Internal Options):
In this section, you can activate hidden debug settings, force the right-to-left layout on your device, display the build version in the status bar (visible only in the control center for iPhone X style devices), and some additional options. Unfortunately, you can no longer activate the App Store debug panel. I attempted to make it work again a while back, but had no success, I've told the devs of CL, but I guess they forgot.
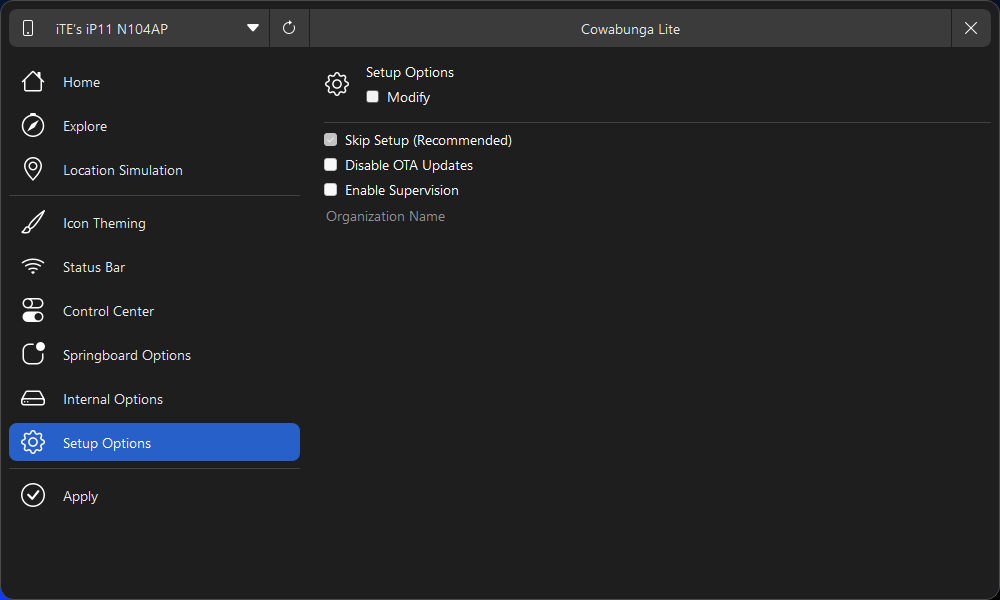
Step 7 (Setup Options):
Now, for the "Setup Options" section, use it once if you plan to use CL in the future, then keep it disabled for future uses. This is because it will remove and mess with your profiles. So, my recommendation is to follow these steps: First, remove all config profiles from your device. Then, enable supervised mode using this section. After that, install the config profiles provided below to skip the setup screen for future CL uses.
For future CL uses, you may install this profile called -> "Bye Bye Setup" to skip setup after using CL.
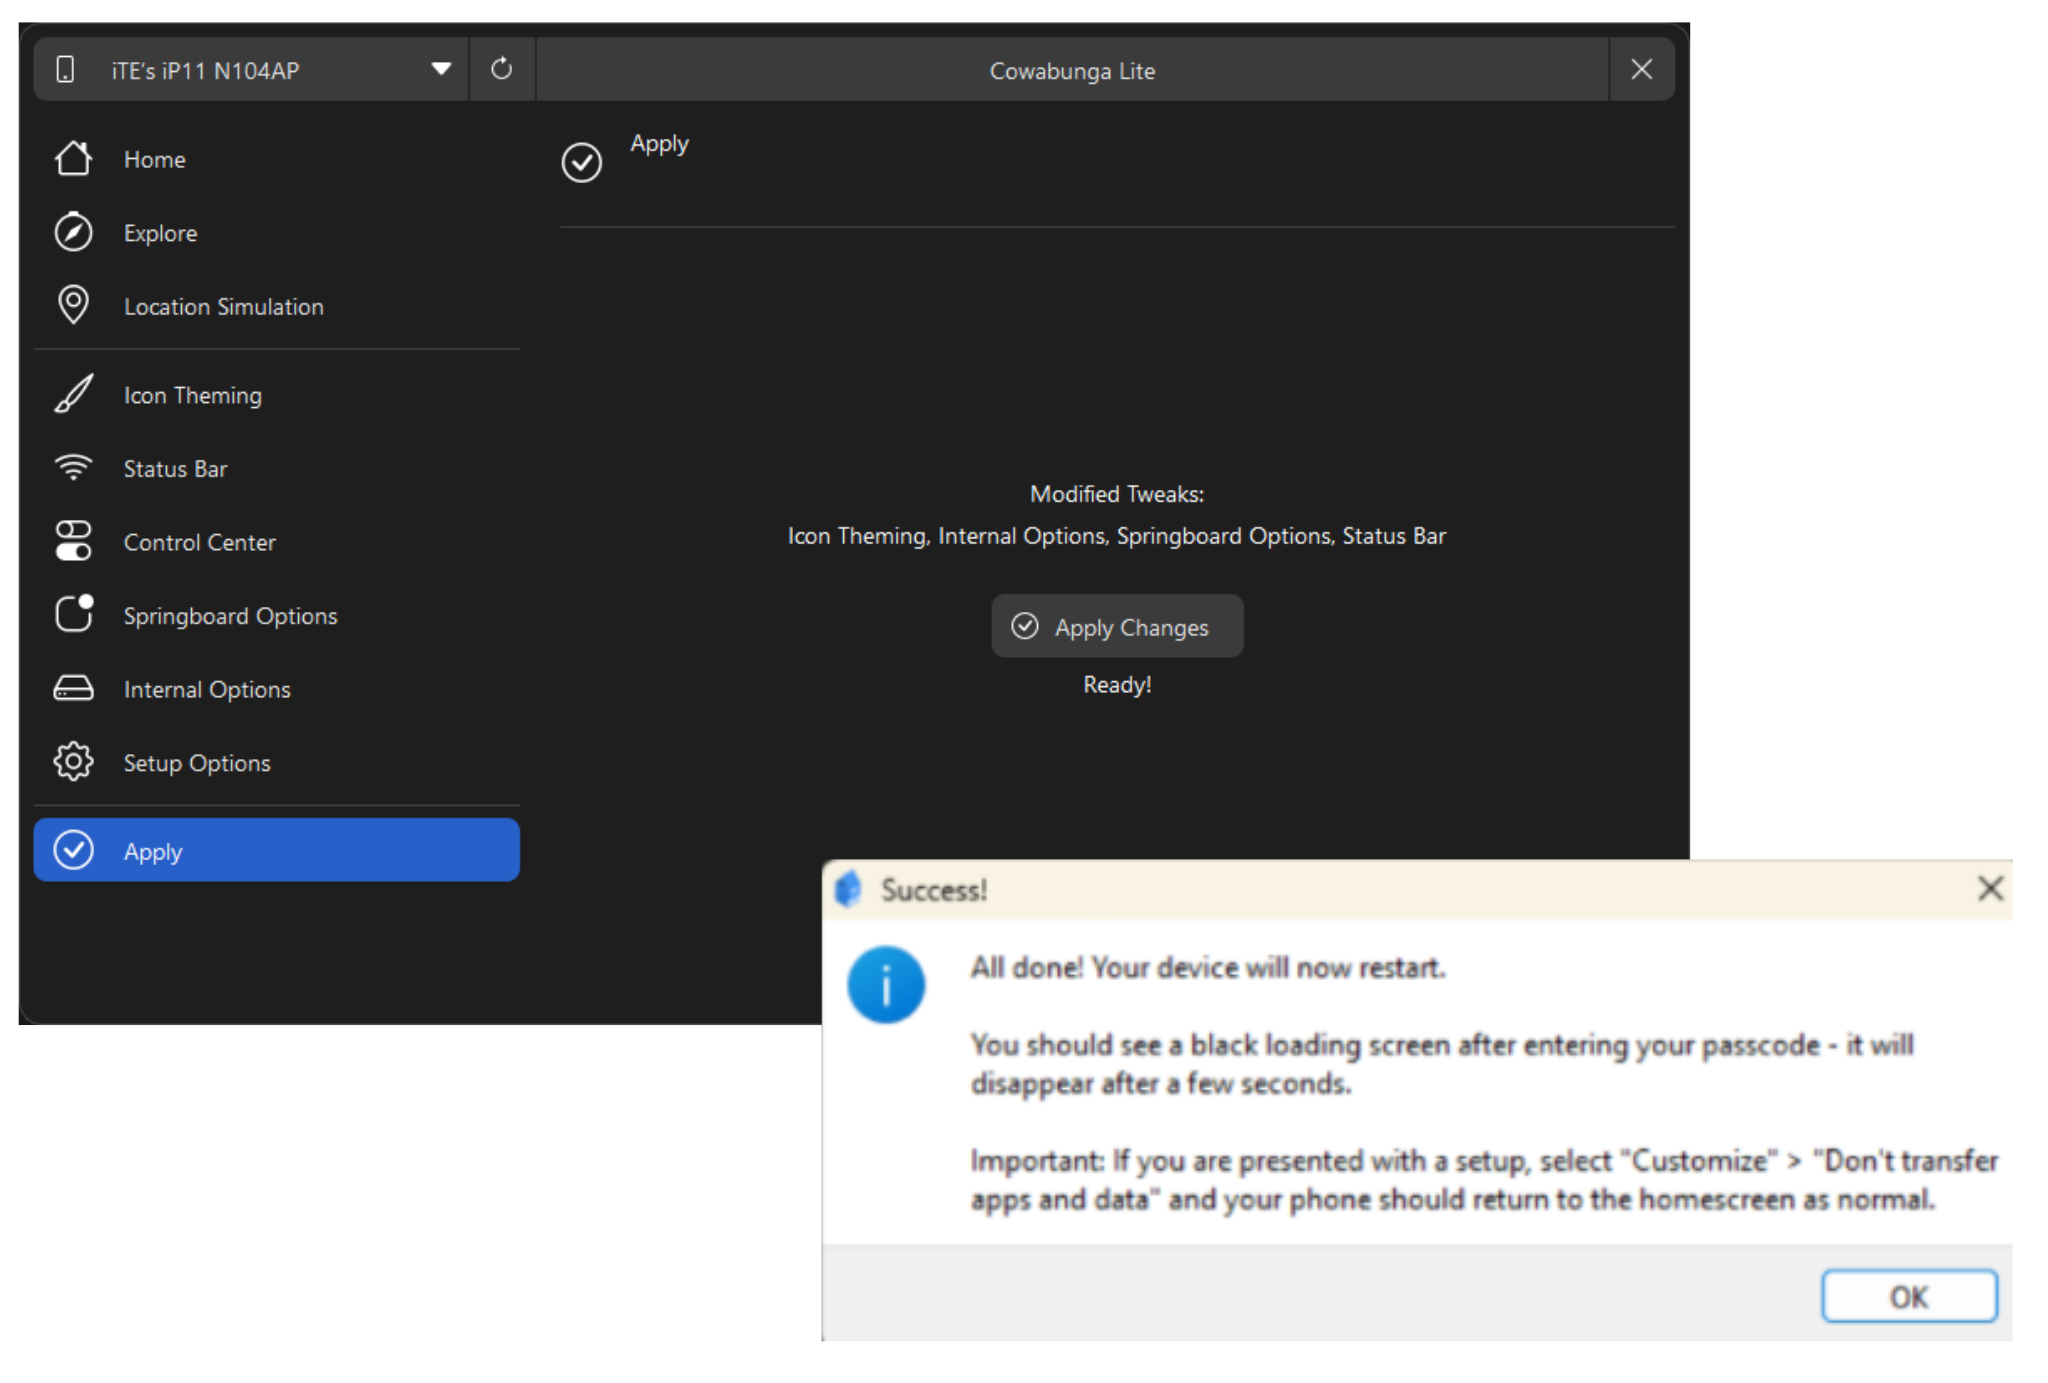
Step 8 (Applying Changes):
To apply mods/tweaks, navigate to the "Apply" section, and click "Apply Changes", then make sure that the "Setup Options" section is disabled to keep your configuration profiles. Now, navigate to the "Apply" section and click "Apply Changes" (or "Apply Tweaks" if on macOS). On your device, it will show "Restore in Progress." After the device restarts, you'll encounter the setup screen. Simply setup your device, and follow the instructions to set it up.
if you see the "Apps & Data" page with the "do not transfer data" option, select it and continue following the remaining steps.
If you're on iOS 17.2 or higher, you will encounter a new page during setup named "iPhone Partially Setup". On this screen, you'll find two options at the bottom: "Erase and Start Over" and "Continue with Partial Setup". Please select the option below, NOT the first one.